Building Speeders: The Creative Process
Posted by Huw,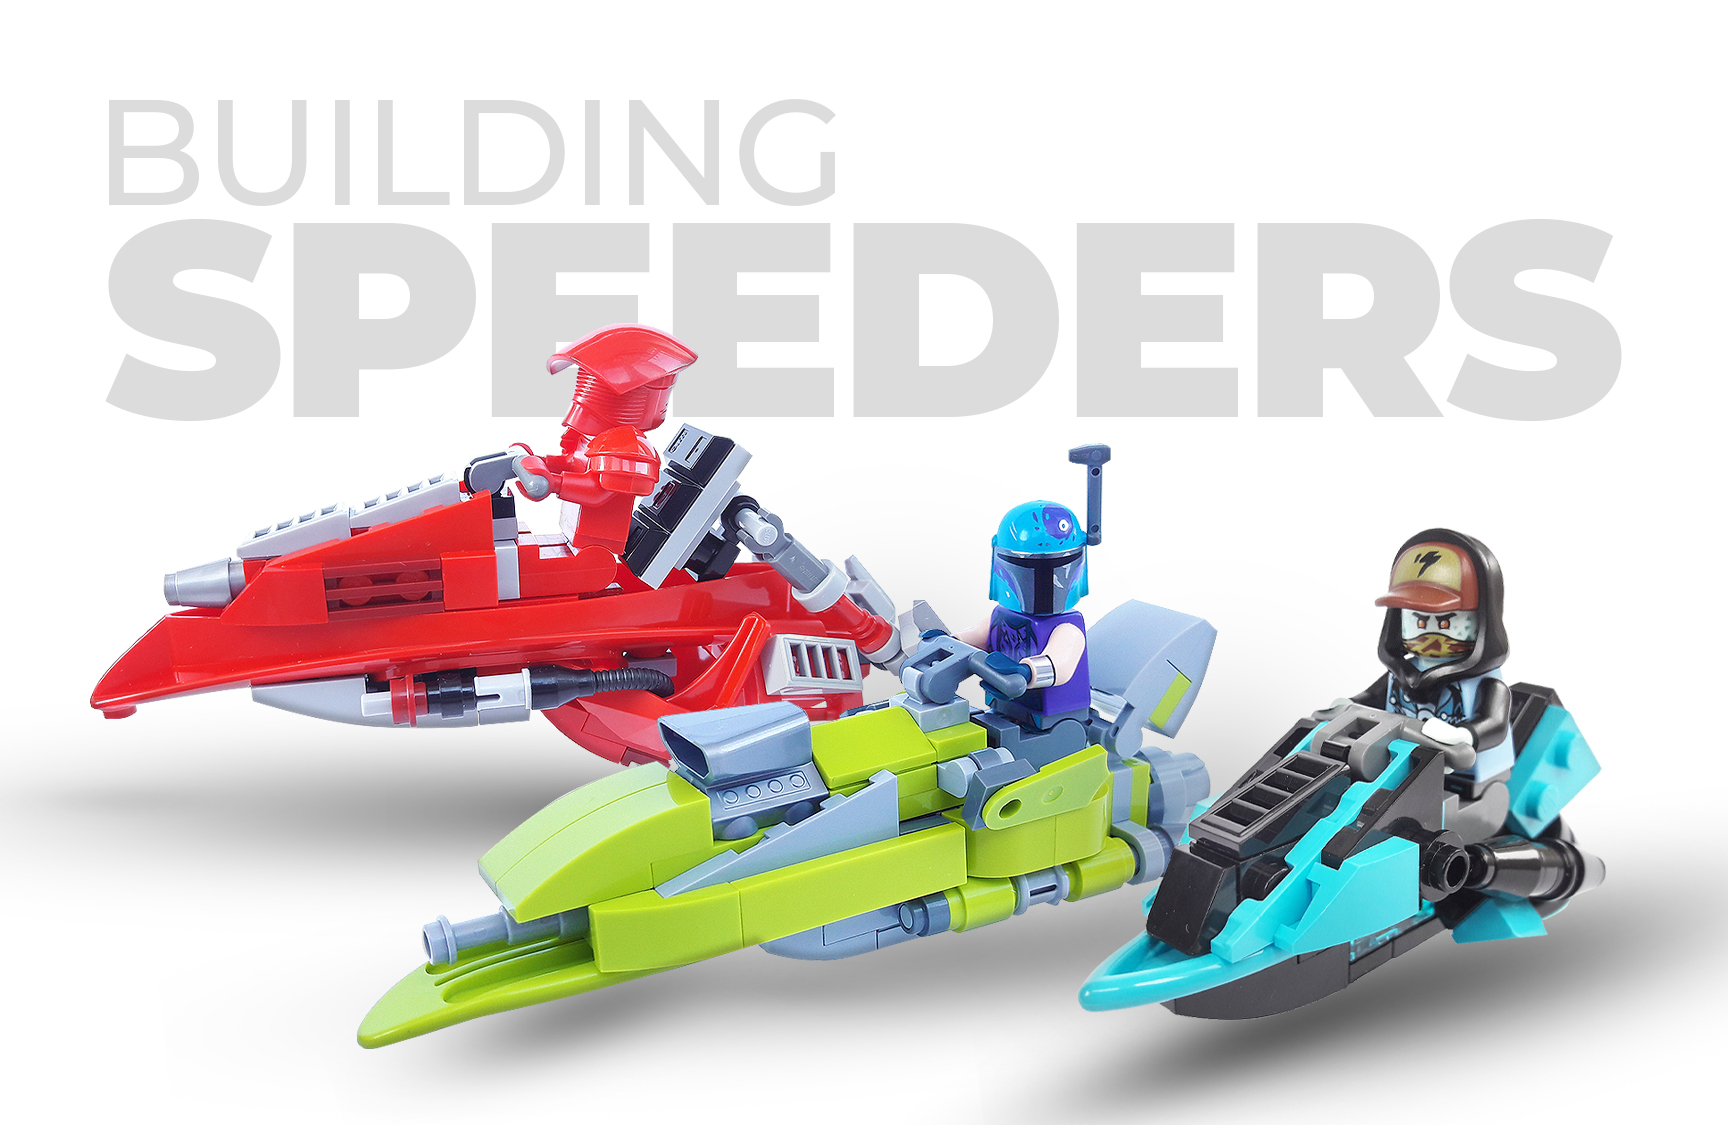
Dan Ko, winner of our recent polybag competition, has written an awesome article for us:
Hey guys! My name is Danny and I'm pretty much a normal AFOL (if there's such thing).
First I want to apologise in advance for my English, as it's not my native language and I learned it the hard way...watching Cartoon Network. Now seriously, I had English classes, it's not that bad :)
Recently, I've started to build speeders (or speeder bikes, or whatever you want to call them), and it seems that a lot of people are interested in the whole building process. This is why I decided to write something about my own process and the different types of inspiration that I have for every build and I hope that it will inspire you too.
When it comes to speeders I have 4 different types of inspiration or methods to build. It all starts by choosing one:
1. Base
This is the method I choose when I don't have any other ideas, but want to build something cool. I've come up with a simple build that is a good base for almost any type of speeder. For this you need only 4 pieces:
- Brick 1x1 W. 4 Knobs (4733)
- Plate 1x2 (3023)
- Handle W. 3.18 Stick (30031)
- Plate 1X1 W. Up Right Holder (44842)

Once you have this little thing assembled you can add anything on top of it. For best results you can add one more of part 4733 with 4 plates 1x3 (3623) and you'll have studs on each side with endless possibilities. Of course, you can go with 1x4 plates, or 1x6 or bigger, but most of the time I like to keep the build smaller and compact as possible.
This is how I've built a Slave 1 speeder for Boba Fett, based on these exact parts.

2. Part
Or a “seed part” as some might call it. This is a part that you want to include in your build. You might have an idea for it or you can just think of different ways to use it. Most of my builds are based on seed parts, because I really love to think of creative ways to use the parts.
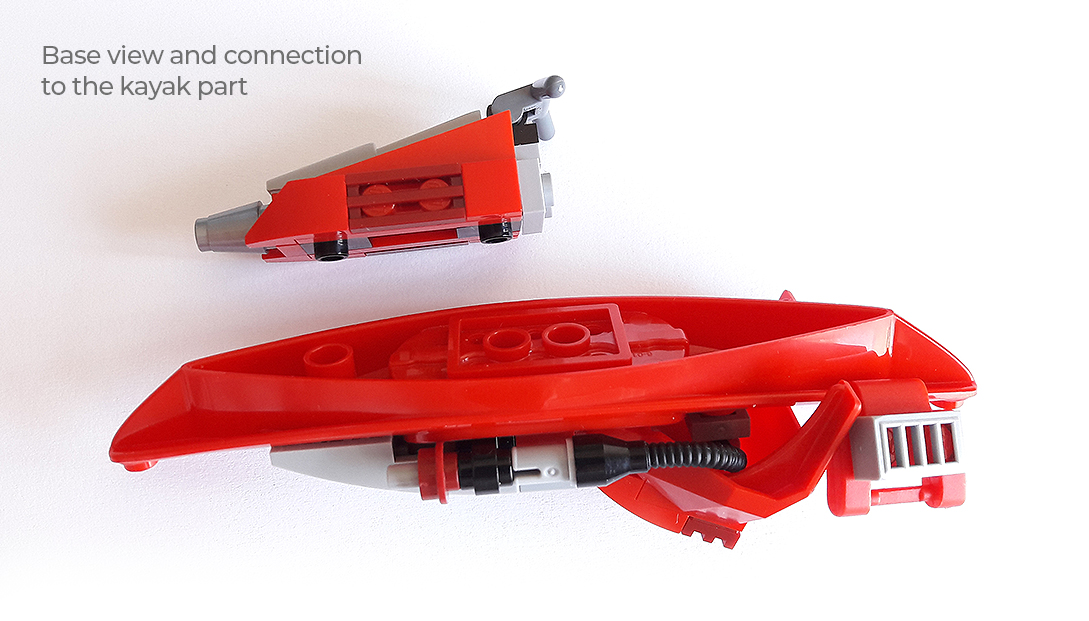
For example, when I got the 60153: People Pack - Fun at the Beach set, I really wanted to build a speeder based on the Kayak 2X15 (6193967) part. This is how I come up with the Elite Praetorian Guard speeder. Basically I took the boat and added the parts from the base from the previous method. It allowed me to reverse the kayak and start building on the bottom of it.

After I made the kayak speeder I've noticed that in the same set we have a lime green surfboard part (6184770). This is probably one of my favourite LEGO colours. I took a closer look at it and decided to give it a try. The problem was that on the bottom of this particular piece I wasn't able to add the base with the brick 1x1 with 4 knobs, but wanted to build in reverse again, because of the nice curve that the surfboard has. Luckily, there are similar bricks, with fewer knobs, which fit perfectly on the bottom. The surfboard also have a hole where the sail sits, but I've placed a Plate 1X2 Ball Ø5.9 Middle (14417) which made the construction really sturdy. In a way it's the same base, but 2 studs wide, just a bit different.


And to complete my “water” part based speeders, just few days ago I've build one with the smaller surf board (6217089). The surf part usage is combined again with the already known base.

3. Minifigure
Minifigures can be great for inspiration and I also like to use them as a starting point for a speeder design. Currently, I own less than 500 figs, but still enough to get my creative juices flowing. So, I take the box or the bag where I store some of the minifigs or think of one that I really like. This is how I picked Fairy Batman's fig (the coolest bat suit, please don't argue).
Now after I've picked the figure I needed design ideas. The suit is pink, or actually it's Bright Purple, as I found out later on searching in Brickset. This is the next step from the process actually – open Brickset and search your parts database. I chose the pink, sorry, bright purple colour and checked the pieces that I have in this colour. I always look for the most interesting ones. So when I saw the neck/ tail pieces from the 76081: The Milano vs. The Abilisk set I knew they were a perfect match. Of course, I don't have many pieces in this colour and chose to go with black as a second colour (Batman always wears black...or sometimes very very dark grey). Part by part this was the end result:

Another example is the Gong & Guitar Rocker minifig. I like this guy so much with his great hair piece and awesome printing. He is basically 3 colours (not counting the white boots) – black, red and yellow. I decided to go with red and build him a cyberpunk-ninjago-type speeder. Again, I opened Brickset > Parts > Bright Red. One part caught my attention - 6132777: Arch 1X6X2. I didn't even know that I had those. It turns out that there are 2 of them in The Flintstones set. I keep this set in a box, because I don't have place for it to display, but pulled it out and took those pieces. I started playing, but of course I needed a base. I placed the figure on the base and tried to find ways to connect the 2 big pieces to it. The front was the first thing I've built with one of the arches, with the base in mind, as I wanted to squeeze it in there too.

I liked how the front turned out and wanted to use the second part the same way, but in the back. I've added tubes (29219) with pins on both sides, to have studs on both ways and this helped me to connect the second part. Because I wanted to keep it compact, I've chose to place the figure standing and this allowed me to have a shorter speeder, with fewer studs. Added few yellow details, to make it stand out more and there you have it.

4. Colour
Sometimes I don't have a specific part in my mind or a minifigure that I want to build for. I start with my little base, but then I'm stuck. Creative block they call it, and we all have it sometimes :)
The best thing is that LEGO comes in many colours (pink is not one of them apparently). So what I do? I go to...you guess it! Brickset > Browse > Coors and pick one that I like. Then I search what I have in this colour and start thinking about ideas.
This is how I came up with my teal speeder. Wanted to build something really cool with this colour. I've seen a teal speeder on Instagram, from a fellow builder that gave the inspiration to build it. It uses the Arch Brick 5X5 (6213792) from 10260 Downtown Dinner set. The speeder I saw had more of these pieces, but I only had 2. I've wanted to use my base...you can call it Ace of Base I guess, as it fits perfectly in so many designs...and so I did, in a way, again. I prepared the most interesting parts that I had in teal: a brick separator, a Star Wars droid...and that's it. I needed more colours and chose one that really popped out – yellow. Bright yellow, is it? Long story, short this is the final version of the speeder with a bit of the inside as well.

I think that this is enough for now to get your speeder mode on and start building some cool speeder bikes. I have published complete instructions for almost of my speeders on my Instagram (https://www.instagram.com/dan.ko56/) and you can check them if you need more inspiration or you just want to build them.
I want to specially thank Brickset for being such an awesome site (all of the people behind it) and a huge inspiration for my builds!
Stay safe guys!
225 likes
36 comments on this article
Those are awesome speeders!
Super cool. Wonder if I can do one with all these brick separators.
Great article - nice techniques, makes me inspired to try it myself. Thanks!
Phenomenal article! Thanks for taking the time to share this with us, Danny!
I'm inspired now to build nine of them for the classic spacepeople...
Great fun! Thank you for all the creative suggestions!!
Excellent work my friend. I'll certainly use some of the ideas. I love speeders.
Brilliant speeders. I’ll have to start building!
Wow!
Thanks for the interesting read.
Great article
Thank you!
The thing that excites me most about this article is that these speeders are all pretty small and manage to incorporate literally any type of part. This means that the chance I can build one with my very limited parts collection is rather big, so I'm definitely gonna give this a go or two!
Thank you for this incredible article, Danny! I don't know if you have any more tricks up your sleeve, but if so, please don't be afraid to share them!
Really great article, such inspirational and helpful pictures, so well written and so colourful!
Thank you! :D
very creative. i can see an xmas afternoon with my boys doing this!!
Thank you guys! I'm really happy that you find it interesting :)
Danny
Nice, this can go really well for people like me who are working on a City with SW technology.
Nice! Is there any chance you could do one on hover boards? I’m thinking stuff like the one in that monkey kid set with the dragon horse bike, or the ones that Kai and jay used in the nitro dragon attack set? I love hover boards.
Nice. Most of my speeders tend to end up looking a little too wide. This helps a lot!
Awesome designs, congratulations! The use of the kayak piece is brilliant, looks so cool!
@thatsaltyninja Basically, using the same base, you can build any kind of hover board and it will be great if you try some :) I will definitely make few of those as I like them as well.
Thank you for sharing something that extends the usual Star Wars Imperial Speeder into a whole new theme on its own. They would all make great polybag models, and glad that once you have a canoe or surfboard base not too difficult to make yourself.
What a terrific article! Thanks, Danny.
This is amazing!
Thank you for writing this article! Your speeder base is really helpful. I also wanted to point out the awesome parts usage of the studded watch links from 2850828 on the red speeder!
Thanks for sharing your thought process. I find these kind of walkthroughs extremely entertaining and informative. I’m not that great at navigating the entirety of the database, though I’d love to have all these kinds of articles ‘collected’ in my profile or something for easy access. Love em.
Awesome speeders Daniel, great technique and tips, inspiring article thanks for sharing!
I have followed Brickset now for several years and this is definitely one of the top three best articles I’ve read, if not the best!
Well done and thank you for taking the time to lay it out so simply with excellent context.
Awesome speeders!! I will likely start off with a classic Blacktron version....
Absolutely amazing. Thank you for sharing your workflow with us. It was very interesting reading, learning where you are finding your inspiration and how we can replicate that.
This article was great! Thank you for sharing!
Really great article—I’m going to try that base technique for a little post-apocalyptic project I’m working on. And your English is better than a lot of native speakers I know!
Very good article and educational! I hope more of these building techniques and ideas can be published on Brickset. Will help the community (and parents whom then show it to the kids).
built one this morning
built one this morning
These are the coolest speeders made out of legos that I have ever seen in my whole life. Be proud of what you have done!
Excellent article - well written, creative, and super inspiring! I hope Brickset lets you write more articles here! What creative skills you have and wonderful use of parts!
Awesome description of really well built MOCs. Small enough that anyone can give it a shot!
I’m going to propose this as a build challenge for the LUG I am a part of.
More articles like this would be a great holiday treat and super way to ring in the new year!
ABSOLUTELY FABULOUS! Great idea, directions, and pics. This is what we need more of. Thanks for stepping up and sharing your passion and idea.
THANK YOU!!! i'll be using this to help build up the vehicles for my city and i've already modified it for Minidolls and even found a way to allow for them to look like they are turning!